Cupcake Liner Pom Poms from my Vintage Valentines Party!
I hope you enjoy!
These are so darling and so easy to make. You could use them for so many parties.
Here we go....
You will need:
Cupcake liners {any color or style}
A styrofoam ball
A glue gun
Pins
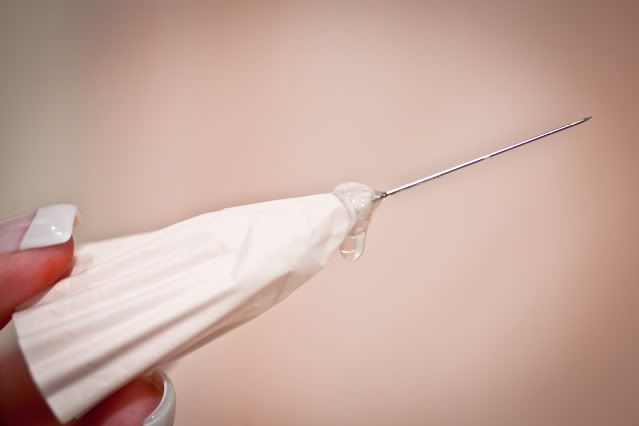
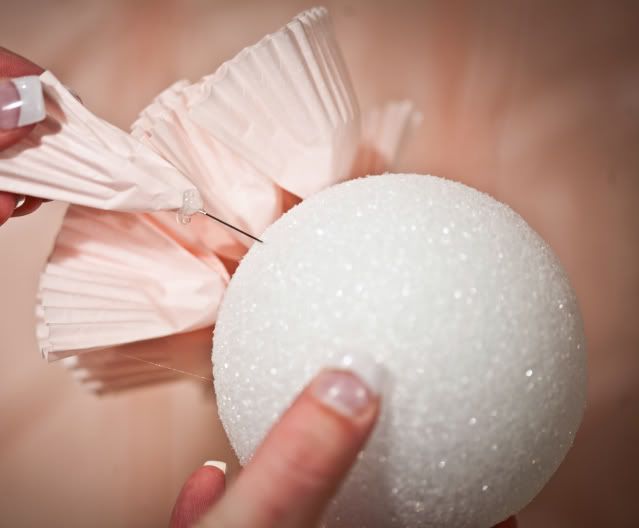
Step four: Push the pin all the way into the styrofoam so the cupcake liners are securely glued to the ball...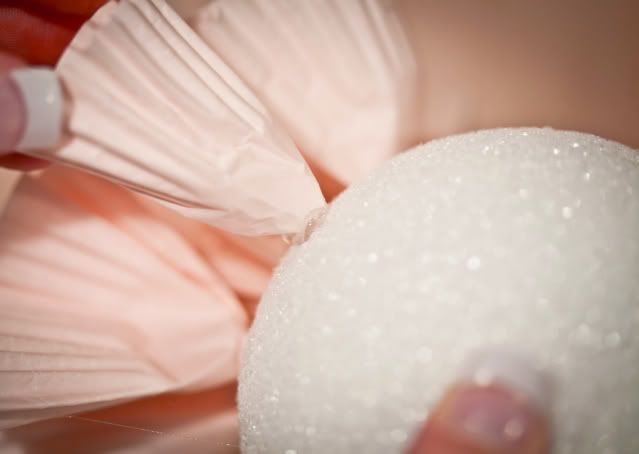

Step five: Carefully open the liners making sure the pin is all the way inserted into the styrofoam. If it isn't, push it all the way in....
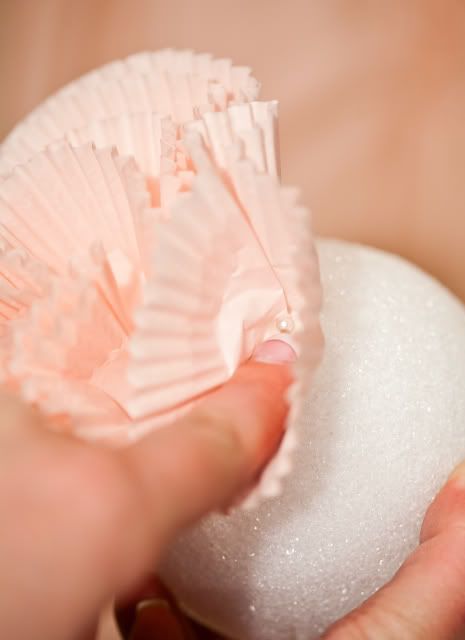

Step six: Repeat until the whole ball is covered with lovely cupcake liners! Attach fishing line or a ribbon to hang! {For this particular pom pom I left a space uncovered so I could set the ball on a large glass candlestick}...
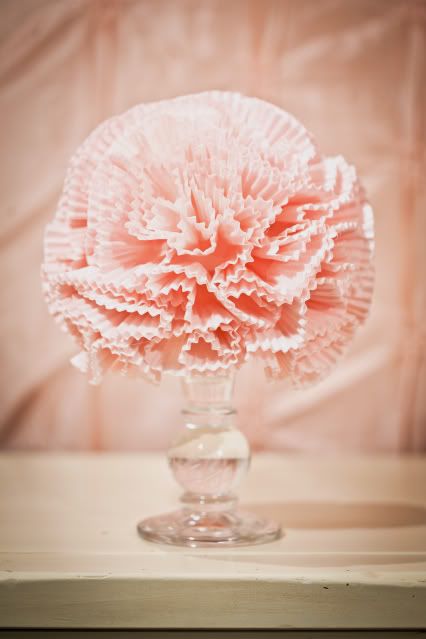
To see more of this Vintage Valentines Party go here!
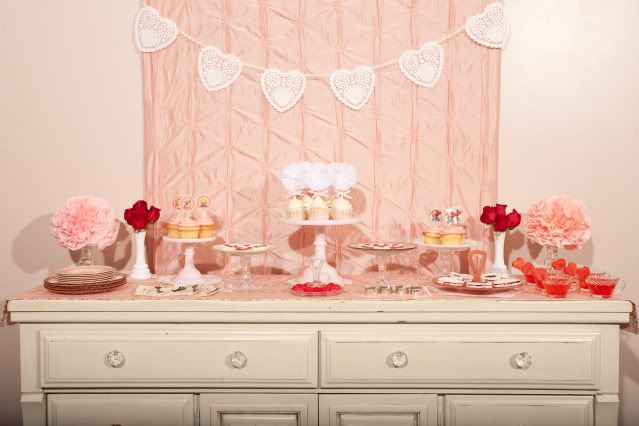

To see more of this Vintage Valentines Party go here!





















33 comments:
That is such a great project! THanks for sharing your tutorial!
Simple and very cute!!!
It could not be easier. THANK YOU...
Sweet and simple, what's not to love?!
these are amazing! thanks for the tutorial!
Cupcake liner projects seem to be everywhere these days. But very few have such an easy-to-follow tutorial. Thanks!
They look like carnations! Love them!
How pretty and easy to make!
Great tutorial! Thanks for sharing! The whole party set up was really beautiful!!
This is really great, i like it. Thank you sharing this blog.
Pretty much in LOVE with this!!! i think I am going to make some to hang in my baby girls room!!! EEK! Can't wait! Thanks for showing us how to!
I love it. It's beautiful!
love it! great idea for more different decor!
curious as to how many liners this takes? Is one package of 50-75 enough?
This looks super cute!
Totally love these - can i share this on my blog?
Rachie xo
Thats amazing! I'm going to have to try these out!!
Oh so adorable--and you made them seem so easy with your tutorial. Thanks for being willing to share your ideas.
Great! thanks for the easy and adorable how-to! x
Thanks so much for all your nice comments! I'm glad you like the tutorial :].
Tammy- I would say at least 100. Depends on how big your styrofoam ball is though...the one shown was about 4 inches.
So incredibly elegant! Thanks so much for sharing the tutorial.
Blessings,
Erin
What a great project. Something simple that looks so pretty.
super adorable - i love it! very beautiful on your table, too.
So beautiful! I will try to make some!
This is great. I would so much rather craft than bake, so this is a great way to use my cupcake liners!
Thanks for sharing great gift idea's with gift post your great blog with us.
So cute and yet so simple! Thanks!!
I'm loving everything you created for this party! Thanks for the how-to, I'll be spreading the word.
So simple, yet so very pretty! Thank you for sharing this.
Great tutorial, I found you at Shebli Renee Events.
Lori
Love this project! Definitely going to have to try it for this Valentine's Day.
Just spotted this on Emmaline Bride and have a feeling I'll definitely be making these for my wedding next summer! I'm not very crafty, but this I can handle :) And since our wedding will be in a hotel, we want to make it as personal and fun as possible. Thank you!
Sues
Oh wow! We have an 18th birthday to celebrate later this year. I might just have to make some for a decoration. Thank you for the idea and for your great instructions.
Post a Comment